
How to Change Drum Brakes to Disc Brakes? Whether you’re a tuner car enthusiast or simply want your car to brake better, the drum to disc brake conversion should be the first modification you consider. It makes perfect sense to replace old-fashioned drum brakes with disc brakes, as the former cannot provide a high level of stopping power and is particularly susceptible to heat, moisture, and debris.
How to Change Drum Brakes to Disc Brakes?
How to replace drum brakes with disc brakes. These, too, require routine maintenance and tuning. However, how do you convert drum brakes to disc brakes? Is it an easy or time-consuming procedure? Is it too expensive?
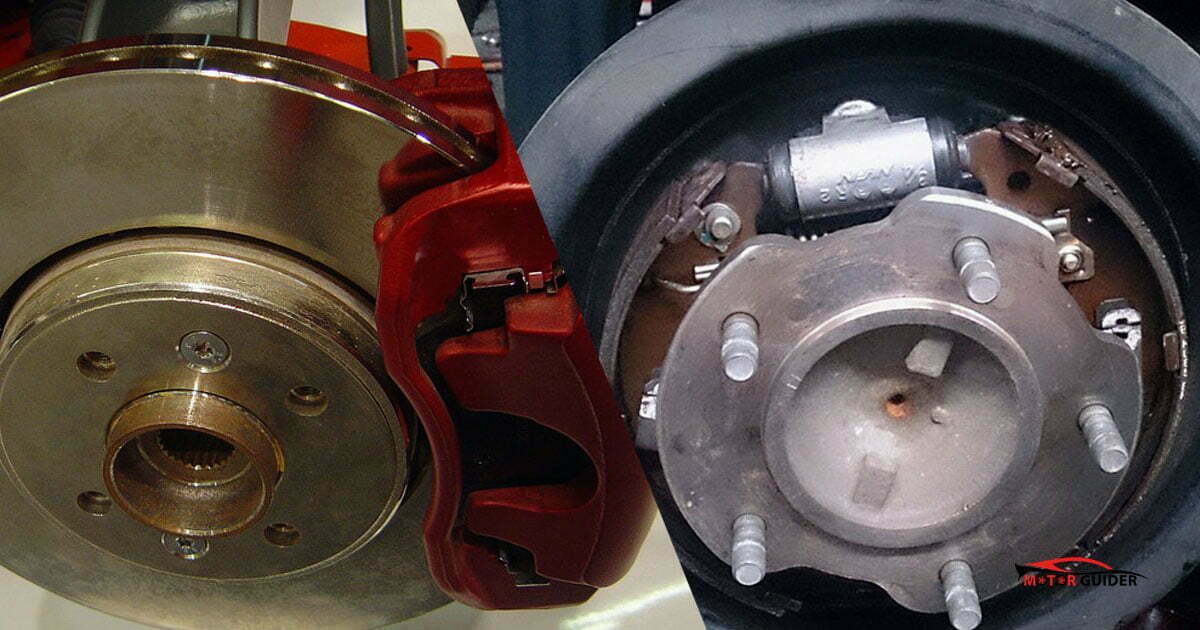
Performance (stopping power), durability, fade resistance, and faster cooling are all advantages of disc brakes over traditional drum brakes. Disc brakes have shown their superiority to the point where even the most adamant restoration enthusiasts are considering replacing their stock front drums with disc brakes. This smart retrofit may be no more difficult than a normal drum replacement if you have the proper parts.
Drum to disc conversion is a difficult task, and most brake shops lack the necessary skills and engineering to do it. However, if you have strong knowledge and hands-on expertise with automobile mechanisms, you can do it yourself. How to replace drum brakes with disc brakes?
Also Read: How does a vehicle tracking system work?
Steps to Convert Drum Brake to Disc Brake
The first step is to get everything ready, which includes draining half of the brake fluid from the master cylinder and releasing the lug nuts on the wheel from which the brake drum will be removed. Remove the tyre by raising the vehicle using a jack.
When you’re ready, take these steps to change your drum brakes to disc brakes:
Step 1: If the car is rear-wheel drive, locate and remove a little circular clip on the wheel stud. Loosen the drum by turning the adjustment wheel within the access hole, which must be on the backing plate or the brake drum. Finally, take it out of the socket.
Detach the wheel bearings and bearing cover if the vehicle is front-wheel drive in order to disengage the braking drum.
Step 2: The brake shoes are disconnected in this step of the drum to disc conversion. After removing the shoes, unfasten all of the shoe’s hardware, including the screw assembly, springs, and retainer rings.
Examine the spindle’s condition closely. If it’s dirty or rusted, clean it or replace it if it’s worn out.
Step 3: It’s now time to put the disc brakes on. However, you must first secure the rotor to the spindle by tightening the screws and bearings. Place the calliper assembly on top of the rotor and tighten the brake lines to secure the brake pads. Install the parking brake cable within the calliper piston to complete this step.
Fill the master cylinder with new brake fluid once you’ve done securing every last screw and bolt. You’ve completed the swap from drum to disc brakes!
Also Read: How can I Start My Car with my Phone?
How much cost is required to Convert Drum Brakes to Disc?
Because disc brakes were not standard until the 1970s, it is easier to convert older automobiles. The obvious possibilities are pre-1970 models.
The price is determined by the vehicle’s make and model. A conversion kit for a vintage Camaro or Mustang costs around $400, but because the Ford F100 has a longer axle, it will cost more.
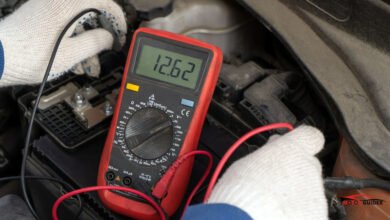
Also Read: How to Test Car Batteries with a Multimeter?